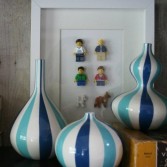
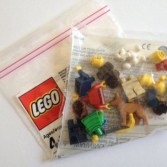
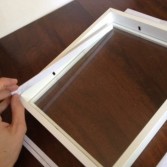
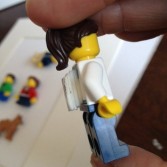
It’s a very unusual family portrait and your kids will be so happy to make it with their hands! You will need Lego minifigures, frame, heavy cardboard, command strips, scissors, glue stick and hot glue gun. To make the mini figurine family, choose the right hair, heads, bodies and legs from your Lego stash. Using the frame as a jumping-off point, first create a shadow box. Cut 1/2″ “spacers” from heavy cardboard and wrapped them in plain white paper (using a glue stick). Hot glue the spacers to the inside edges of the frame, directly behind the glass. To get the Lego people to sit flush in the frame, use stacked command strips on the back of each figure and attach them to a sheet of paper. Once everything is in place, insert in the frame, and attach the back of the frame with more hot glue.
Funny DIY Lego Family Portrait
Advertisement |
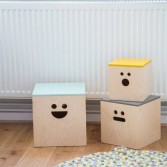
Great Convertible Bed For Your Kids Relaxation And Play
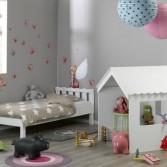
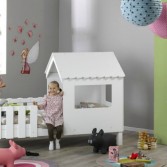
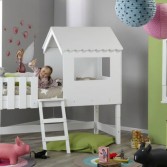
A bed and a play house that you see on the first picture are actually parts of one cool bed cottage – a perfect place for your kid to relax, read and play. This bed will become not only an exciting adventure and fun for your kid, but also a practical and smart purchase for you, because of its three versions: the bed and the play cabin separately, the cabin above the bed and the bunk bed for when your kid gets older. The last but not least option is my personal favorite one, because it allows you to have a space under the structure for whatever needs you have: storage bins, another place for play, etc. Check this out!
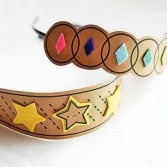
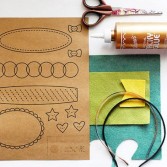
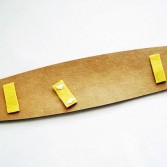
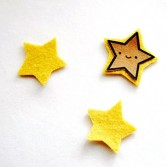
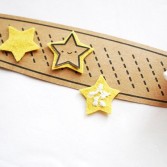
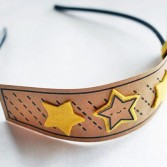
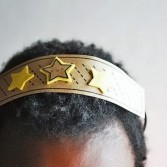
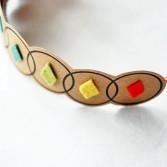
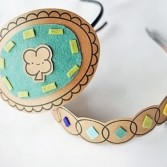
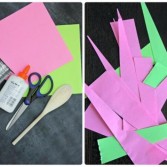
Colorful DIY Match Headbands For Girls
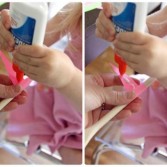
Make your daugthers happy – make for them this bright headbands! It’s very easy-to-make and so beautiful! You will need printable mix & match headbands templates, card stock, simple plastic headband, felt, scissors and craft glue. Print the template onto the card stock. Basic white will work. Choose a base piece and cut it out. Cut small strips of felt and glue only the ends of 2 to 3 pieces to the back of your base piece. Keep the center of each strip free of glue and loose. This is where the headband will slide through later. Cut out some decorations. The rest of the tutorial is here.
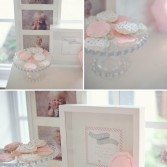
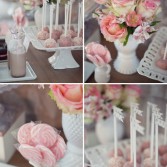
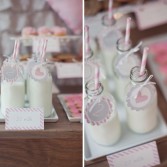
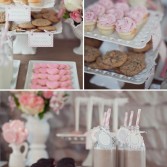
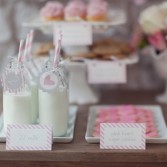
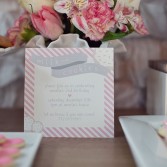
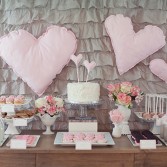
Adorable Pink And Grey Milk & Cookies Baby Girl’s Birthday Inspiration
If your little princess has a sweet tooth, then picking a theme for her birthday party is really easy – try cookies & milk theme! To get inspired, take a look at this lovely party in pink and grey colors and in the same called theme arranged for the baby girl Amelia’s second birthday. The party was in December but it has so many cute and interesting ideas, that you can use any time you want. I love darling invitations completed with hand drawn little cookies, hearts of different sizes all around the place, amazing flowers… Everything is so pretty! I think these photos left me with an intense sweet tooth.


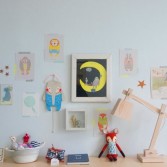
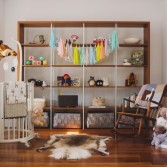
Dreamy Gender-Neutral Room Design For Toddlers
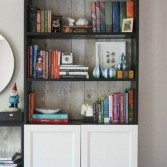
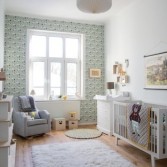
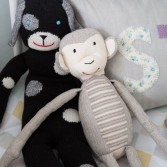
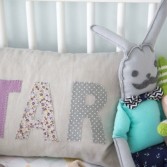
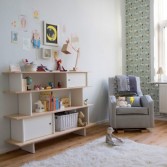
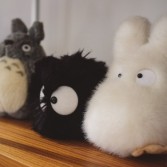
This decoration of a kids’ room will will be perfect for girls and boys. Holly Becker created this dreamy and gender-neutral space for baby Aidan. First of all, she focused at nature and handmade elements. You can see many handmade toys, pictures, décor accessories on these photos and some of them are really original. The room has a lot of place and kids will play and feel very comfortable. Also Holly paid attention to natural light that makes the room more pleasant and cozy. Take a look at neutral wallpapers: they make room bigger and lighter.
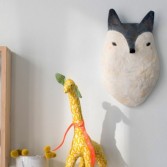
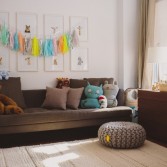
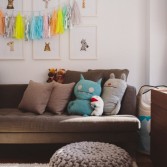
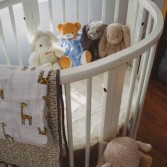
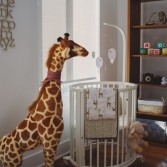
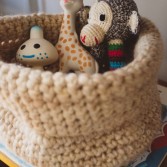
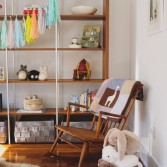
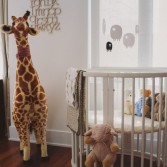
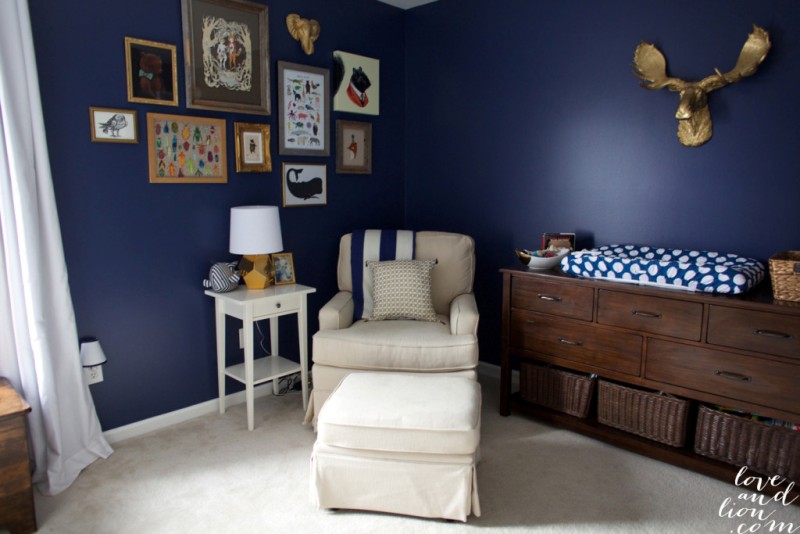
Neutral But Whimsy Nursery Design For A Baby Boy
This nursery is another example of rooms that are designed in a neutral and warm color scheme and has a gender-neutral theme. It looks like not a typical nursery with all the baby specific items, but like a room where all the family would spend some time, hang out. So, there we have a comfortable couch, a rocking chair and a comfy pouf. But among all that there’re so many different and cute baby-like pieces and items beginning with a charming giraffe and letters above it one the wall and ending with such a cool open storage with baskets underneath and a colorful, fun garland on it. I like it! Do you?


The Best Kids Room Furniture and Designs of February 2014
Here are the best kids room design ideas that we were covering on Kidsomania during February 2014. If you’ve missed them than don’t hesitate to check them out.
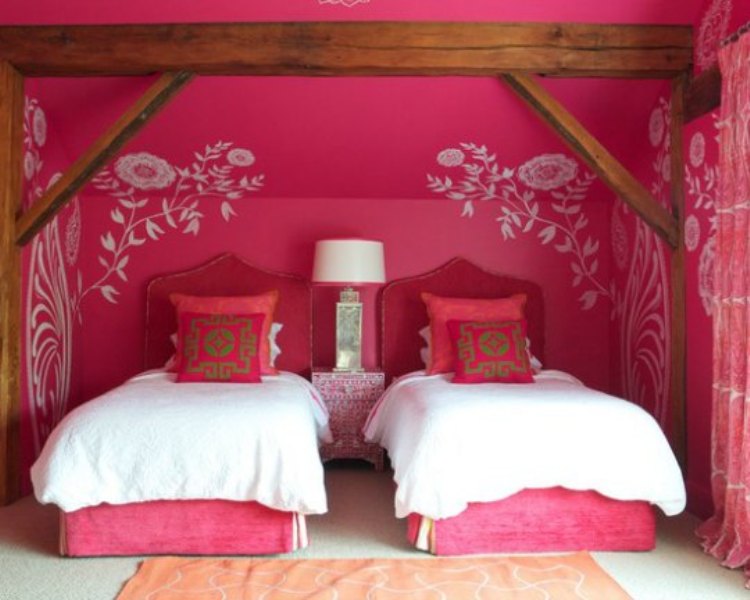 |
18 Amazing Ways Of Using Vibrant Fuchsia In A Kids Room |
 |
10 Hot 2014 Trends For Baby Room Designs |
The Best DIY Projects For Kids of February 2014
Here are the best DIY projects to make them for your kids or with them that we were covering on Kidsomania during February 2014. If you’ve missed them than don’t hesitate to check them out.
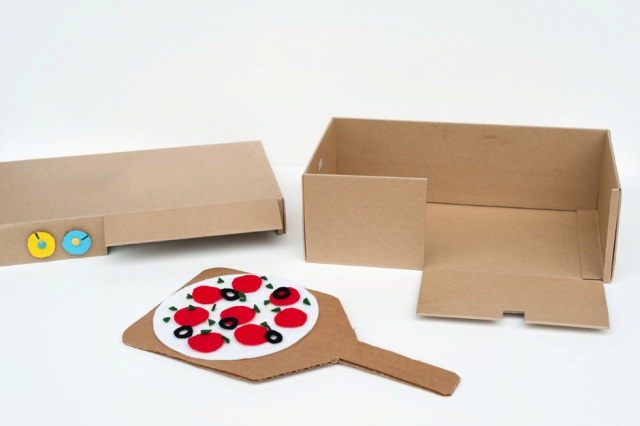 |
DIY Original Pizza Oven Toy |
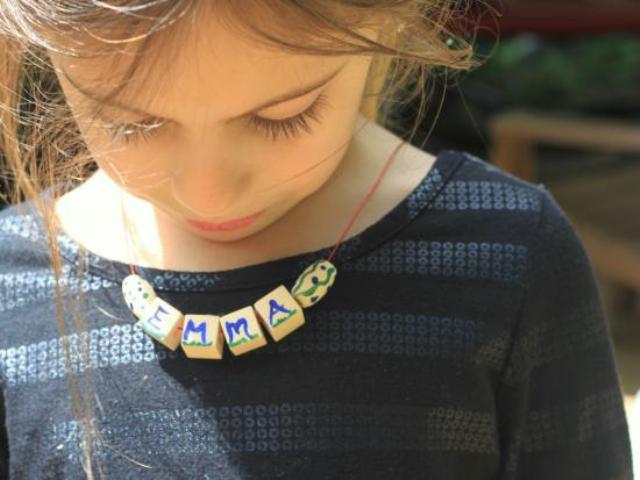 |
Awesome DIY Name Necklace |
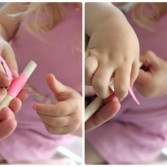
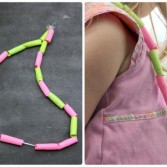
DIY Multi-Coloured Paper Bead Necklace
This DIY is for toddlers. Let’s make a colorful necklace for them! You will need colored paper or wrapping paper (2 sheets), scissors and plastic lacing. Cut the paper into long triangular strips and make 10 per sheet (20 triangles total to make this necklace). Starting with the wider end, wrap the paper around the wooden spoon base – snug but not tight – until about 2 inches remain of the pointed end. Apply the white glue to this section. Finish rolling the last of the paper strip around, pushing the remaining glue all over the bead, covering it completely to seal the bead. Allow to sit for a minute or two, then slowly slide off the spoon to dry further. Continue with the remaining triangular pieces to complete the necklace. Read the rest of the tutorial here.
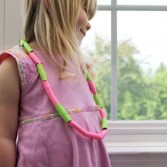

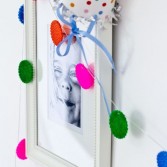
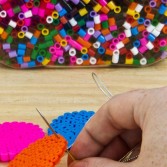
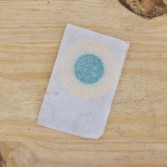
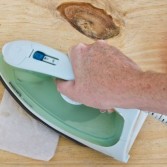
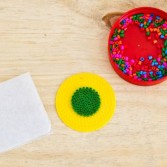
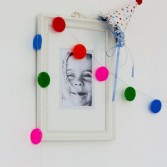
Easy DIY Ironing Beads Garland To Decorate Your Kid’s Party
When planning a kid’s party, why not get your kid involved into the decorating process? For example, invite him or her to make this awesome garland made of ironing beads. Besides them you’ll need pegboard, ironing/baking paper, iron, ribbon and needle. Begin with making your circles or any other shapes using the pegboard. The set your iron to medium setting, cover the beads with the ironing paper and gently iron it for about 15 sec, making sure that the beads still have an open center. Once it’s cool, peel off your baking paper, turn around your design cover with baking paper and iron again. Finally, just pull the ribbon through the opening of your circle and hang somewhere you like.
Categories
Archives
- May 2015 (29)
- April 2015 (44)
- March 2015 (42)
- February 2015 (38)
- January 2015 (41)
- December 2014 (31)
- November 2014 (41)
- October 2014 (46)
- September 2014 (41)
- August 2014 (41)
- July 2014 (44)
- June 2014 (38)
- May 2014 (39)
- April 2014 (43)
- March 2014 (39)
- February 2014 (38)
- January 2014 (43)
- December 2013 (37)
- November 2013 (39)
- October 2013 (47)
- September 2013 (38)
- August 2013 (44)
- July 2013 (42)
- June 2013 (38)
- May 2013 (42)
- April 2013 (44)
- March 2013 (42)
- February 2013 (40)
- January 2013 (41)
- December 2012 (31)
- November 2012 (45)
- October 2012 (57)
- September 2012 (39)
- August 2012 (45)
- July 2012 (39)
- June 2012 (8)
- March 2011 (8)
- February 2011 (7)
- October 2010 (8)
- September 2010 (20)
- August 2010 (21)
- July 2010 (6)
- June 2010 (8)
- May 2010 (8)
- April 2010 (24)
- March 2010 (27)
- February 2010 (16)