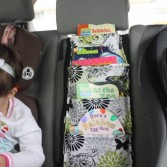
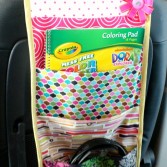
DIY Car Travel Book Storage For You And Your Kid
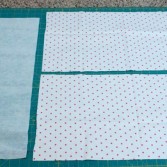
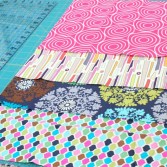
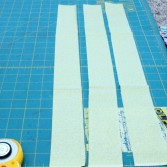
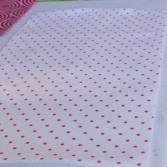
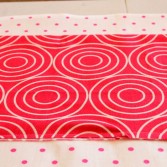
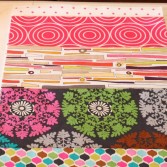
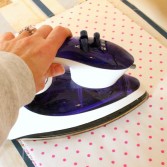
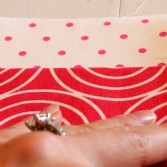
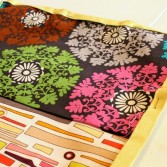
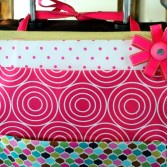
Here’s a new idea how to create a travel book storage for your toddler. You will need scraps of fabric (one or more colors), interfacing or fusible fleece, ribbon and embellishments, sewing machine, thread, cutting mat and rotary cutter. First, choose one of your child’ favorite books of standard size and measure it. Basing on this measurement you will know how large to cut your main fabric, pockets, interfacing, and basically everything else. Cut 2 pieces of your main fabric and a piece of interfacing to be 11 x 22 inches. Also cut 4 pieces of fabric to be 11 x 13 inches and 3 or 4 strips of fabric to be 2 x 100 inches. Now iron your interfacing piece to the back of your front main piece of fabric. Next you’re going to add your pockets. Fold each piece of fabric in half, wrong sides touching, and iron in place. Start at the top, going down about 1 1/2 inches, and stitch your first pocket on at the bottom with raw edges facing downward. Continue with the rest of the pockets. Iron the back piece of fabric to the other side of the interfacing, this time for a longer period of time to give it a good bond. Take strips and turn it into bias type, then edge all the parts of travel book storage starting at the top corner of your main piece of fabric. Add the ribbon by measuring 2 inches from each outer edge and pin the ribbon in place. And finally you can add a little ribbon flower at the corner as an embellishment. Fill it with books, and you’re done!